
Perfect Minecraft Survival Base is essential for thriving in the game’s challenging environment.
A well-planned base serves as your safe haven, protecting you from hostile mobs and providing a central hub for crafting, storage, and farming.
To create the ultimate survival base, you need to focus on strategic location, functional design, and efficient resource management.
Whether you’re a seasoned player or a beginner, mastering the art of base-building will elevate your gameplay experience.
From choosing the ideal biome to incorporating advanced features like Redstone automation and defensive structures, this guide provides actionable tips and tricks to design a survival base that’s both practical and visually stunning. Start building smarter today!
Why Build a Survival Base?
Before we get into the details, let’s first understand why a survival base is crucial in Minecraft.
- Protection: A survival base shields you from mobs like zombies, skeletons, creepers, and spiders.
- Resource Management: A good base provides a central hub for storing and organizing your items, tools, and resources.
- Progression: With a reliable base, you can focus on exploring, mining, and advancing to more complex builds.
- Customization: Your base is your home, and it reflects your creativity and play style.
ALSO READ: How to Master the Basics of Fortnite: A Beginner’s Guide to Winning?
Step-by-Step Guide to Building the Perfect Survival Base
Choosing the Right Location
The location of your base can significantly impact its functionality. Here are a few factors to consider:
| Factor | Why It’s Important |
|---|---|
| Proximity to Resources | Being close to wood, stone, water, and animals ensures an easy start. |
| Safe Terrain | Avoid building in areas with constant mob spawns, such as dark forests or open caves. |
| Accessibility | Choose a spot that’s easy to navigate and close to essential biomes like plains, forests, or deserts. |
| Scenic Views | If aesthetics matter to you, build near a mountain, ocean, or lush biome. |
Pro Tip: Scout the area before settling down. A flat area surrounded by natural defenses like mountains or rivers can simplify your base design.
Essentials for a Survival Base
A survival base isn’t just about walls and a roof. Ensure your base includes these key features:
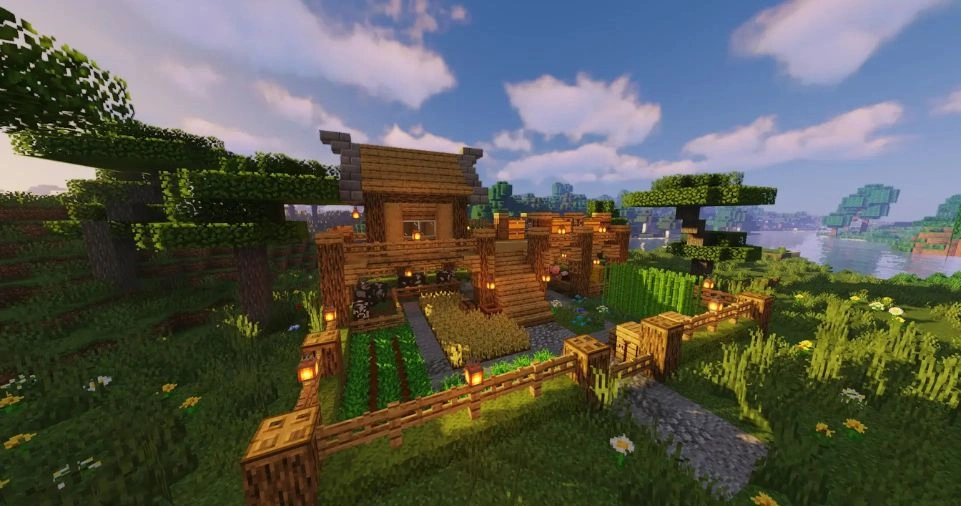
Shelter
Your first goal is to build a shelter to protect yourself from mobs and harsh weather. Start with simple materials like wood or dirt and upgrade to stone, brick, or other sturdy blocks as you progress.
Storage System
Organize your resources with chests for better inventory management. Consider creating a storage room with labeled item frames for easy access to tools, building blocks, food, and rare items like diamonds and enchanted books.
Lighting
Prevent mob spawns inside and around your base with ample lighting. Use torches, lanterns, glowstone, or even sea lanterns to brighten your surroundings.
Farms
- Crop Farms: Grow wheat, potatoes, carrots, and melons for a steady food supply.
- Animal Pens: Keep cows, sheep, chickens, and pigs for meat, leather, and wool.
- Tree Farms: Plant trees near your base to ensure a constant supply of wood.
Crafting and Smelting Area
Set up crafting tables, furnaces, and blast furnaces to handle crafting and smelting needs efficiently.
Defensive Structures
To keep your base safe from creeper explosions and pillager raids, build walls, trenches, or moats. Incorporating iron golems or tamed wolves adds an extra layer of security.
Advanced Features to Enhance Your Base
Once you’ve covered the basics, it’s time to add advanced features to make your base stand out.
Enchanting Room
Set up a dedicated area with bookshelves and an enchanting table to upgrade your tools, weapons, and armor.
Nether Portal Room
Create a safe and aesthetically pleasing room for your Nether portal. Surround it with obsidian or decorative blocks to give it a mystical look.
Redstone Automation
Automate your base with Redstone contraptions:
- Automatic farms for crops or animals.
- Hidden doors and traps for added security.
- Item sorters to manage storage more effectively.
Map Wall
Install item frames and maps on a wall to keep track of your explored areas. This is especially useful for navigation and planning expeditions.
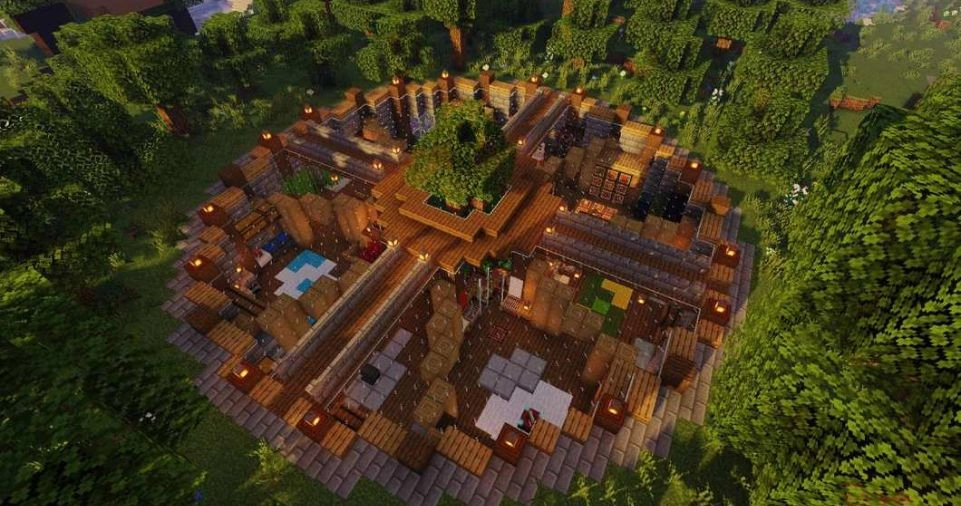
Creative Base Designs
Looking for inspiration? Here are some popular base styles to consider:
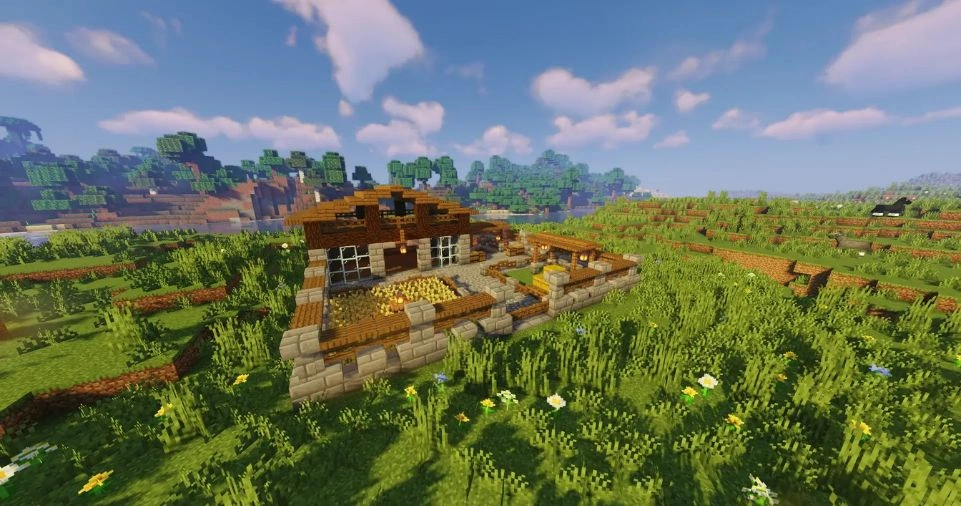
| Base Style | Description |
|---|---|
| Underground Base | Dig into the ground or side of a mountain for a hidden and compact design. |
| Treehouse Base | Build high above the ground in a tree for safety and a great view. |
| Ocean Base | Construct your base underwater with glass domes for a unique and serene environment. |
| Castle Base | Go medieval with a fortified castle featuring towers and courtyards. |
| Floating Base | Build a platform in the sky, perfect for avoiding hostile mobs altogether. |
ALSO READ: How to Play Online Multiplayer Games Safely: Protecting Your Data and Privacy
Pro Tips for Base Building
Organize Your Layout
Plan your base layout in advance to make it functional and easy to navigate. Use signs, paths, and corridors to separate different areas like storage, farms, and crafting zones.
Use Defensive Landscaping
Incorporate natural barriers like cliffs or rivers around your base. You can also build artificial defenses like lava moats, cobblestone walls, or cactus traps.
Upgrade Gradually
Start small and expand as you gather more resources. Replace temporary wooden walls with cobblestone or reinforced materials over time.
Incorporate Aesthetic Details
Use decorative blocks like flower pots, paintings, banners, and colored glass to make your base visually appealing.
Common Mistakes to Avoid
- Overbuilding Too Soon: Start with simple structures and expand as needed to avoid wasting resources.
- Poor Lighting: Mobs spawn in dark areas, so always ensure proper lighting inside and outside your base.
- Ignoring Defense: Even the most beautiful base won’t last long if it’s not secure.
- Lack of Resource Management: Organize your chests early to save time when looking for materials.
Example Base Layout
Here’s a suggested layout for a beginner survival base:
| Area | Purpose | Recommended Blocks |
|---|---|---|
| Entrance | Secure entry point with a door or gate. | Oak planks, iron doors, trapdoors |
| Main Room | Hub for crafting and sleeping. | Cobblestone, beds, crafting tables |
| Storage Room | Organized chest storage. | Wooden planks, item frames |
| Farming Area | Food and resource production. | Farmland, fences, water buckets |
| Defensive Wall | Protection from mobs and raids. | Stone bricks, fences, or cobblestone |
ALSO READ: How to Find the Best Free-to-Play Games Without Sacrificing Quality?
Final Thoughts
Building the perfect Minecraft survival base is an ongoing process that evolves as you progress in the game.
Focus on functionality first, then let your creativity run wild with advanced features and decorative details.
Whether you’re building an underground bunker or a majestic castle, the tips in this guide will help you create a base that is both practical and awe-inspiring.
FAQs
1. What is the best biome for building a survival base?
The plains biome is ideal due to its flat terrain, abundant resources, and fewer hostile mobs. However, jungle and desert biomes offer unique challenges and aesthetic opportunities.
2. How do I keep mobs away from my base?
Light up the area around your base, build walls or fences, and consider using lava or water moats for added protection.
3. How can I make my base more efficient?
Incorporate Redstone automation for tasks like farming and sorting items. Additionally, ensure that essential areas like storage and crafting zones are easily accessible.