Starting a successful streaming channel on platforms like Twitch or YouTube Gaming can be a game-changer for aspiring content creators.
Whether you’re aiming to share your gaming skills, build a loyal community, or monetize your passion, setting up a professional stream is the first step toward success.
This guide will walk you through every essential aspect of getting your channel up and running—from choosing the right platform and equipment to configuring your streaming software and growing your audience.
Whether you’re a beginner or looking to refine your setup, follow these steps to launch a channel that stands out and attracts viewers.
Let’s dive straight into building your streaming presence and making an impact in the gaming world.
Why Choose Twitch or YouTube Gaming for Streaming?
Before diving into the technical setup, it’s important to understand why Twitch and YouTube Gaming are the top choices for streamers:
Twitch: The Streaming Giant
- Audience: Twitch boasts millions of active users, making it a prime platform for reaching gamers worldwide.
- Monetization: With features like subscriptions, donations, and ads, Twitch allows streamers to earn money directly from their content.
- Community Engagement: Twitch offers real-time interaction with viewers, which fosters a loyal community.
YouTube Gaming: A Powerful Alternative
Huge Reach: As part of YouTube, YouTube Gaming allows streamers to tap into the massive user base of YouTube, offering great potential for exposure.
- Content Longevity: Unlike Twitch, which focuses on live content, YouTube allows streams to be available as VODs (Videos on Demand), giving your content a longer shelf life.
- Monetization: YouTube offers ad revenue, super chats, channel memberships, and sponsorships for streamers to earn income.
Both platforms have their unique features, so your choice ultimately depends on your goals, audience, and content preferences.
ALSO READ: How to Get Started with Mobile Gaming: Tips for New Players
Step-by-Step Guide: Setting Up Your Streaming Channel

Step 1: Choose Your Platform
The first decision you’ll need to make is whether you want to stream on Twitch or YouTube Gaming. Here’s a quick comparison to help you decide:
| Feature | Twitch | YouTube Gaming |
|---|---|---|
| Audience | Primarily gamers, esports fans | Large, diverse audience (including non-gamers) |
| Monetization | Subscriptions, ads, donations | Ad revenue, Super Chats, memberships |
| Content Longevity | Shorter content shelf life | Content stays up indefinitely as VODs |
| Interaction | Real-time chats and emotes | Real-time chats, but less focus on interaction |
| Platform Focus | Live Streaming | Both live streaming and video uploads |
Choose the platform that aligns with your goals. If you want to focus solely on live streaming with real-time interaction, Twitch might be a better choice.
However, if you’re interested in creating both live and recorded content, YouTube Gaming offers more flexibility.
Step 2: Set Up Your Account
For Twitch:
- Create an Account: Go to Twitch.tv and sign up for an account.
- Complete Your Profile: Add a profile picture, bio, and social media links. A well-rounded profile helps to attract followers.
- Enable Two-Factor Authentication (2FA): This is essential for added security on your account.
- Select Your Stream Settings: Under your account settings, choose your stream resolution, bitrate, and streaming quality.
For YouTube Gaming:
- Create a YouTube Account: Head to YouTube.com and sign up. If you already have a Google account, you can use it.
- Create a YouTube Channel: Click on your profile icon and select “Your Channel” to create one.
- Enable Live Streaming: Make sure your account is verified, and live streaming is enabled. You’ll need to verify your identity via a phone number.
- Customize Your Channel: Add channel art, profile pictures, and links to your social media accounts.
Step 3: Choose Your Streaming Equipment
The right equipment is key to creating a professional stream. Whether you’re using Twitch or YouTube Gaming, the following components are essential:
PC or Console:
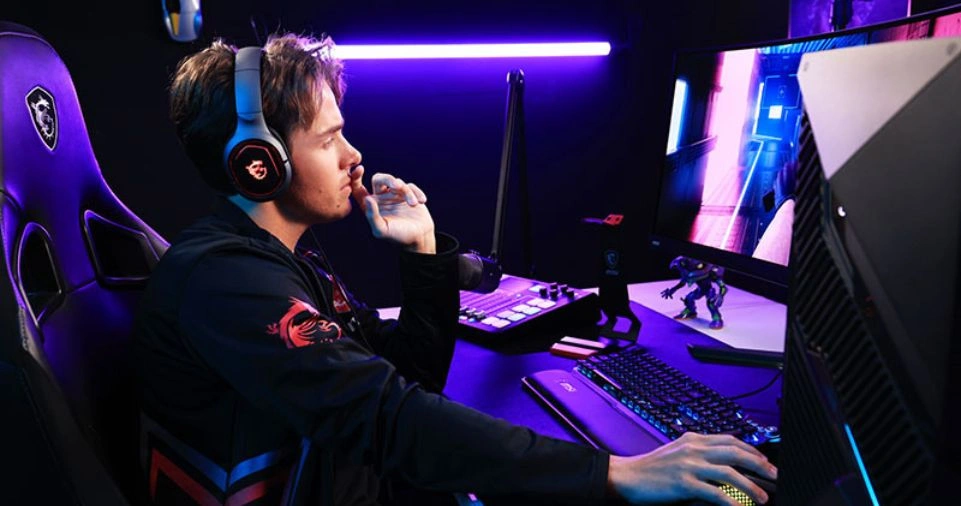
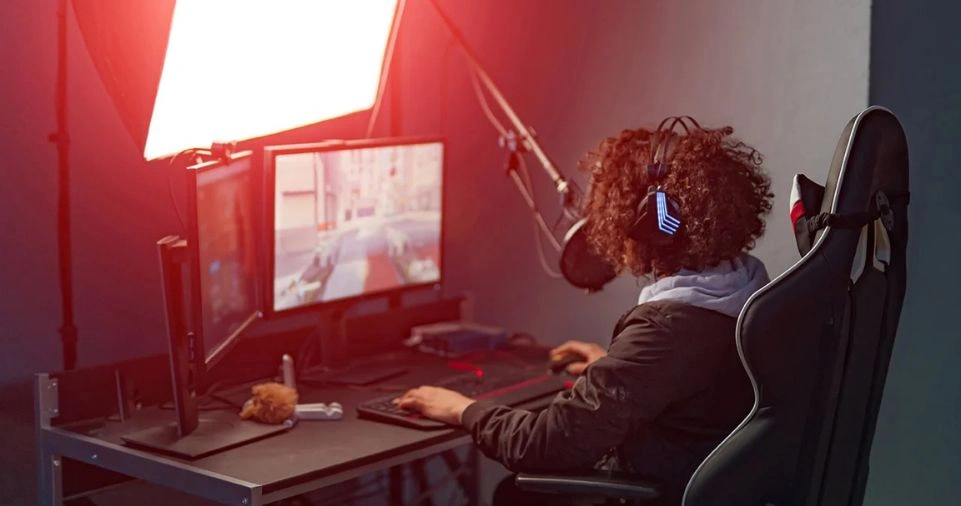
- PC Setup: A powerful gaming PC is ideal for streaming on platforms like Twitch and YouTube, as it handles the game and stream processing simultaneously.
- Console Setup: If you’re streaming from a console like PS5 or Xbox, you’ll need a capture card to connect the console to your PC for streaming.
Microphone:
A high-quality microphone is crucial for clear communication with your audience.
The Blue Yeti and Audio-Technica AT2020 are popular options for streamers due to their great sound quality and affordability.
Webcam:
A webcam allows you to engage with your audience visually. The Logitech C920 and Elgato Facecam are both reliable choices for streamers.
Capture Card:
If you’re streaming from a console, a capture card (e.g., Elgato HD60 S+) allows you to connect your console to your computer.
Streaming Software:
Both Twitch and YouTube Gaming require streaming software to broadcast your gameplay. The most commonly used streaming software includes:
- OBS Studio (Open Broadcaster Software): Free and open-source software that’s compatible with both platforms.
- Streamlabs OBS: A more beginner-friendly version of OBS that includes built-in tools for customization.
Here’s a breakdown of key features for both:
| Software | Pros | Cons |
|---|---|---|
| OBS Studio | Free, highly customizable, open-source | Slight learning curve for beginners |
| Streamlabs OBS | User-friendly, built-in overlays, alerts, and themes | Resource-heavy, may affect performance on low-end PCs |
Step 4: Design Your Stream Layout
A professional-looking stream layout enhances your channel’s appeal and makes your broadcasts stand out. Here’s what to consider:
- Overlays: Create or use pre-made overlays for your webcam, alerts, and gameplay screen.
- Alerts: Use animated alerts for new followers, donations, and subscriptions to keep your audience engaged.
- Stream Panels: Design panels for your Twitch or YouTube profile that display information like your social media links, schedule, and donation links.
You can create custom graphics using tools like Canva, or download pre-made templates from sites like StreamElements and Nerd or Die.
Step 5: Set Up Your Streaming Software
Now that you have your equipment and layout, it’s time to configure your streaming software:
- Install OBS or Streamlabs: Download and install the streaming software of your choice.
- Set Up Scenes: In OBS, create different “scenes” to switch between different views (e.g., gameplay, webcam, break screen).
- Add Sources: Add sources for your gameplay, webcam, overlays, and alerts in your streaming software.
- Configure Audio: Ensure your microphone and game audio levels are balanced. Avoid too much background noise or low-volume levels.
Step 6: Test Your Stream
Before going live, it’s essential to test your setup:
- Test Audio: Play test streams to check that your microphone and game audio are clear.
- Stream Quality: Ensure your stream resolution (1080p, 720p) is optimal for your internet connection and computer specs.
- Engagement: Ask friends or fellow streamers to watch your test stream and give feedback.
Step 7: Go Live and Start Streaming
When everything is ready, it’s time to go live!
For Twitch:
- Open OBS or Streamlabs and click “Start Streaming.”
- Head to your Twitch dashboard to monitor chat and viewer stats.
- Interact with viewers in real time, and maintain a consistent streaming schedule to build an audience.
For YouTube Gaming:
- Open your streaming software and click “Start Streaming.”
- On YouTube, navigate to the “Live” section of your channel to monitor your stream and chat.
- Engage with your audience, promote your stream on social media, and encourage subscriptions and likes to grow your channel.
Step 8: Promote Your Stream
Even if you’re streaming consistently, building an audience requires promotion. Here are some ways to get more viewers:
- Social Media: Promote your stream on platforms like Twitter, Instagram, and TikTok.
- Collaborations: Team up with other streamers to cross-promote each other’s content.
- YouTube Shorts: Use YouTube Shorts to share quick highlights of your stream and attract new viewers.
ALSO READ: How to Choose Your First Video Game Console (Switch, PS, Xbox)?
Advanced Tips for Growing Your Channel

- Consistency: Stream regularly and stick to a schedule so your viewers know when to expect your content.
- Engagement: Respond to chat, ask questions, and involve your audience in the content.
- Branding: Build a strong personal brand with a unique logo, theme, and consistent content style.
- Networking: Join communities and streamers’ groups, attend events, and engage in collaborations.
ALSO READ: How to Set Up Your First Gaming PC: A Complete Guide for Beginners
Conclusion
Setting up your Twitch or YouTube Gaming channel is just the beginning. Building a successful streaming career takes time, effort, and dedication.
By following the steps in this guide—choosing the right platform, investing in good equipment, and optimizing your content for engagement—you can build a channel that attracts viewers and helps you stand out in the crowded world of gaming streams.
Remember, consistency and community engagement are key to success. Happy streaming!

